
Now that we followed the guide in Part I we have Home Assistant running with Docker and at this point can visit the running container in our browser. This is the fun part, when we get to start setting up and configuring Home Assistant. And it couldn’t be easier, we just point out browser to the IP address and port of our running container and it’s all web based from there – no need to dig into configuration files just yet.
Let’s get started.
Setup Your Primary User
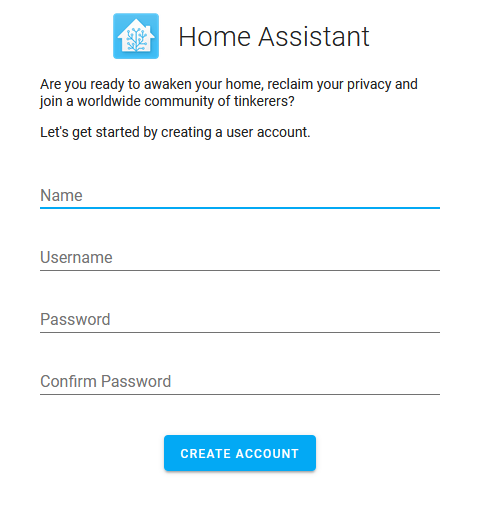
When you first get to the site you’ll have to setup a username and password – just like you would with setting up your first WordPress or similar site. Be careful here because you are setting up the first admin and you’ll want to both make this a strong password and a memorable one. You don’t want anyone hacking into your Home Assistant setup but you also don’t want to be locked out of your new home automation server.
Later you’ll be able to add users and even give them administrator privileges, but you’ll never be able to reset a users password (easily, if ever).
Set Your Home Address

This should be easy but there is some skill. You’ll want to center the map on your own home but you cannot simply tell Home Assistant here your address or GPS coordinates. You’ll have to zoom out and then zoom back into your place of residence. You can attempt to have the browser detect your location too if this proves to be too difficult.
This setting will make sure that when we add device trackers to our Home Assistant setup we can align them to our home’s location on the map. This will give us home detection like telling Home Assistant we are indeed home or away.
In addition you’ll want to setup here the time zone (just to be safe, though we set this earlier) and the units of measure we’d like to use (Imperial or Metric).
Optionally Setup Devices
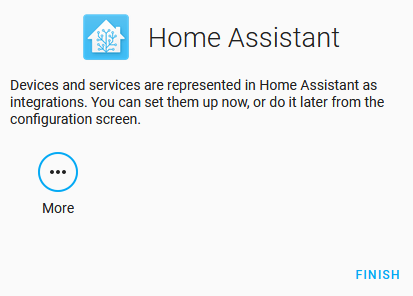
At this step you are really done with the out of the box setup – anything already detected will show here. To illustrate a basic setup I have nothing discovered above and we’ll add them manually. If you are not running the container on Windows and have used Linux as your base system you’ll find a lot of home entertainment devices such as the Chromecast, Google Home Minis and Rokus are automatically detected.
What we’ll do is click Finish and complete the installation and setup for Home Assistant.
Visit Your New Home Automation Server
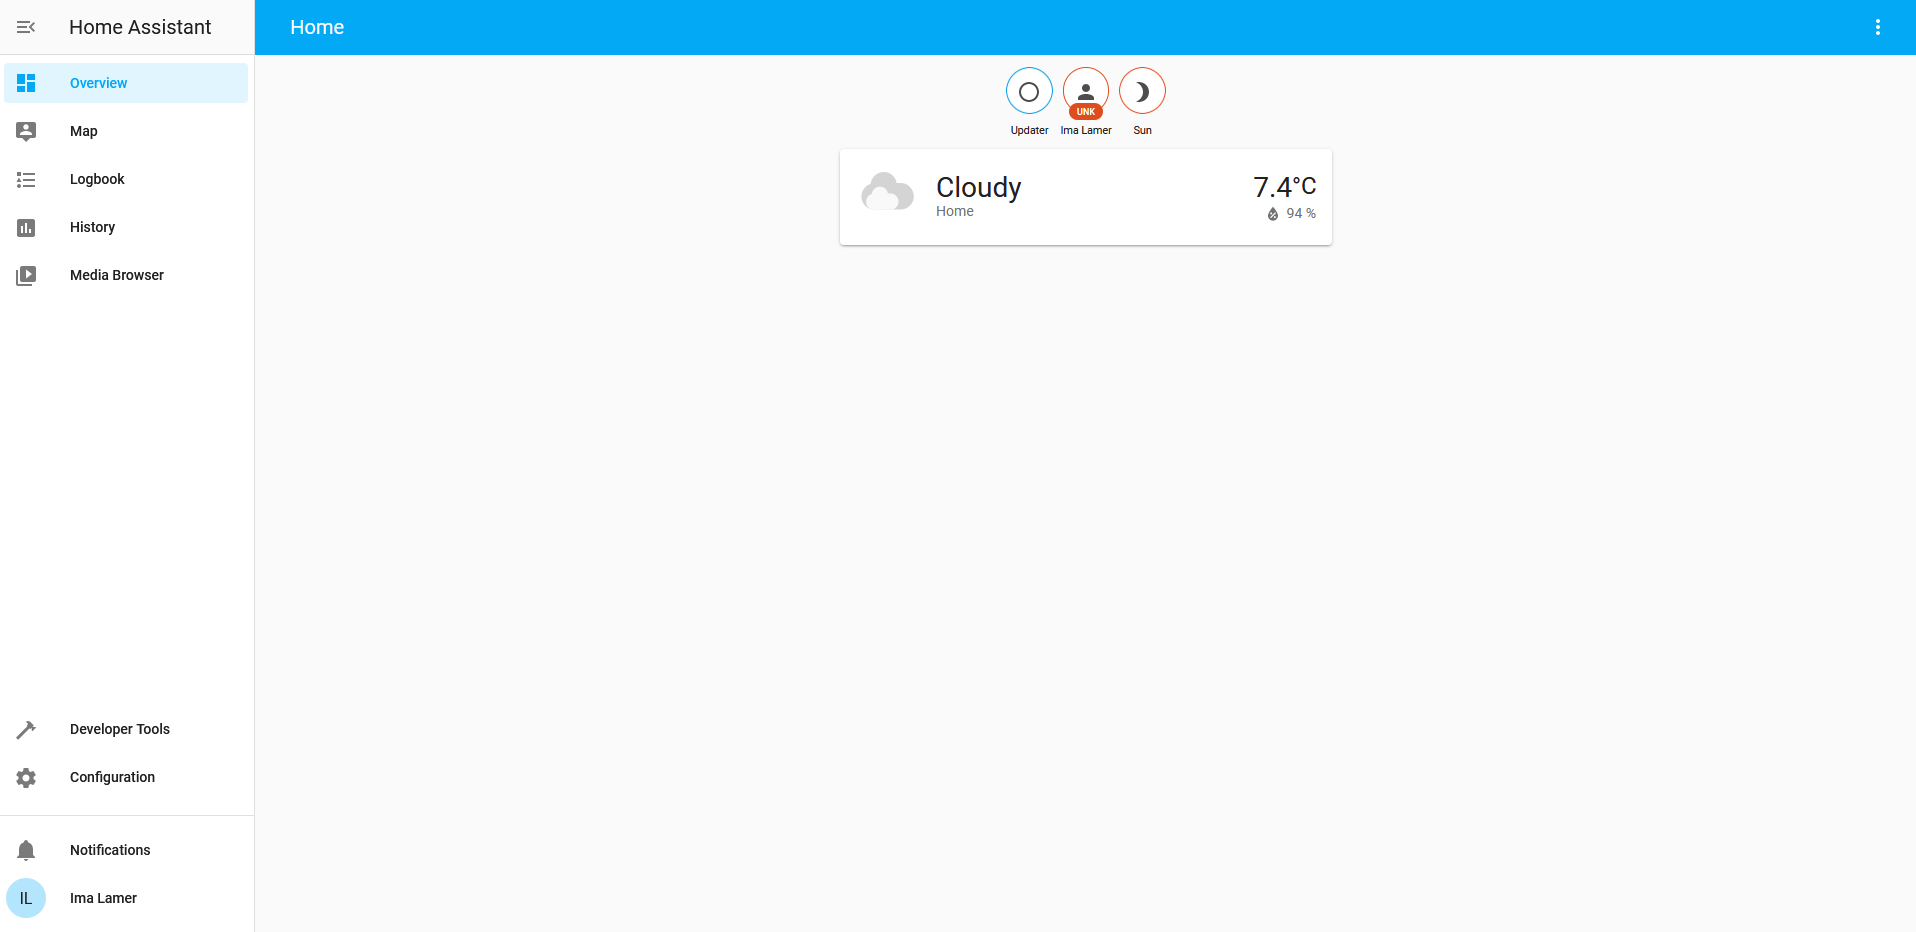
From now on when we visit the URL of our home automation server (http://localhost:8123 or http://ip-address:8123) we’ll see the landing page or what Home Assistant calls “Lovelace”. Lovelace is nothing more than the name of the Home Assistant interface.
From here you’ll see on the left hand side a series of links pages:
- Overview – The default Lovelace landing page
- Map – View your home location and the location of your tracking devices on the map
- Logbook – A history of when things changed or happened in your home automation setup (a timeline view)
- History – A bar chart view of your devices, showing their states over time.
- Media Browser (Optional) – If you mapped in your media you’ll be able to browse it here. If you skipped this step when running the Docker container you won’t see this link/tab but you don’t have to worry.
- Developer Tools – Where we’ll go later to check out our devices and understand how Home Assistant sees them.
- Configuration – Where we’ll be going next, to add devices and restart the server without going back to the command line interface.
- Notifications – Where you’ll see messages such as newly discovered devices by Home Assistant and failed login attempts with their date and time.
- Your User Profile – Where you can customize your personal settings, set your theme, change your password, setup your API keys and more.
Adding Your First Device Integration
To start out we’ll integrated with maybe the most popular home automation product on the market, the Philips Hue bridge and bulbs (white or colored). Pairing Home Assistant and Hue together, or rather, adding the Hue integration to Home Assistant is one of the easiest.
We’ll walk through it below – with photos.
From the Lovelace home page, or the default page of Home Assistant, you should still see the Configuration button on the left side. Click the Configuration tab to display the configuration options page.
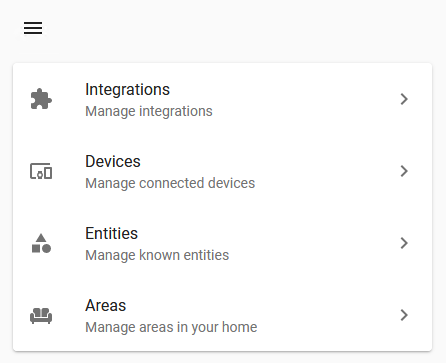
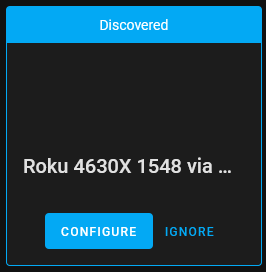
Click Integrations
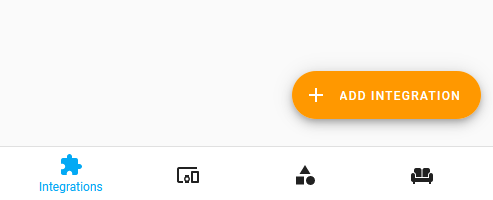
Click Add Integration
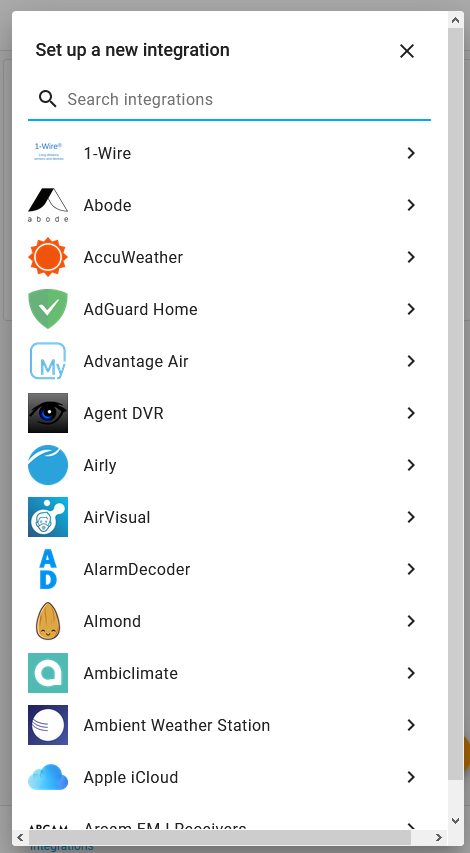
Find Your Integration
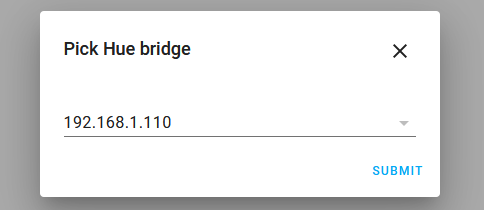
Pick The Hue Bridge by IP Address
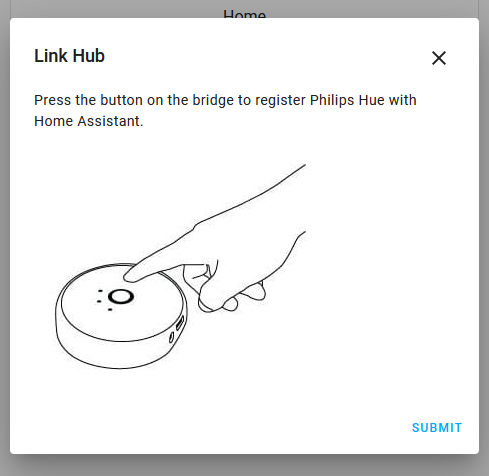
Go Press the Pair Button on the Hue Bridge
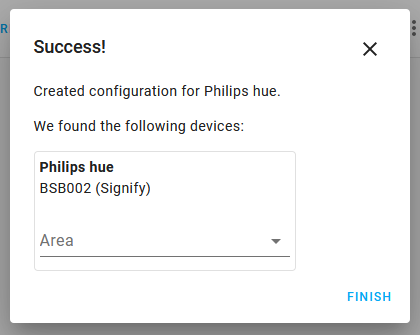
Finish the Setup
Enjoy Your Success!
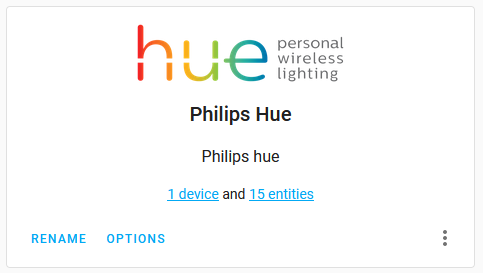
At this point you’ve integrated the Philips Hue lighting hub to Home Assistant. As you can see from the last screenshot above it has pulled in from the Hue hub the setup for each individual light. This is represented in Home Assistant as one device, the hub, that has multiple entities, the bulbs.
If we click back to the Overview tab by clicking the link on the top left we can see Home Assistant has done the job of adding the lights to Lovelace, the default UI, for us.

From here you’re starting your journey down setting up integrations with Home Assistant. The more you add, the better it is. For us, we started with the simplest thing, the lights. Now we have a central place/page to manage all the smart lights in our automated home. We can even start playing with automation in Home Assistant if we’d like by making the lights come on when the sun sets without adding anything else.
What we’ll do in the next step is talk about what else we can add to Home Assistant to make it smarter and some shopping advice based on our well-working home automation setup. Then we’ll get into more software, Node-RED, that can help us really do some powerful stuff with it all once we get it tied together.
Look forward to Part III of our guides on Home Automation!


Trackbacks/Pingbacks